*** Note - June 2005 ***
I do not
currently have any meal worms for sale, so I have temporarily removed
the PayPal button from this page.. Between the appetites of my
society finches, gouldian finches and the outdoor birds (wrens,
bluebirds, and robins), there are no extras to sell.
|
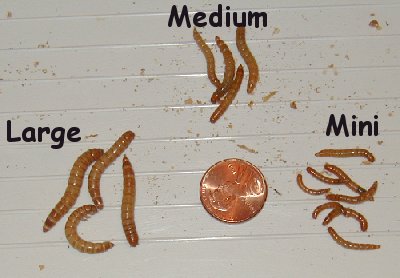
Meal Worm Sizes
(approximate)
|
Meal worm prices
- free
shipping!
|
|
|
- 1,000 mealworms - $12
- 2,000 mealworms - $18
- Add $4 for each additional 1,000
|
Raising Meal Worms
I have found that most of my finches LOVE meal worms. They are a
favorite food of my owl finches, blue capped waxbills, star finches,
orange cheek waxbills, and society finches. Even the gouldians will
eat the very small worms.
|
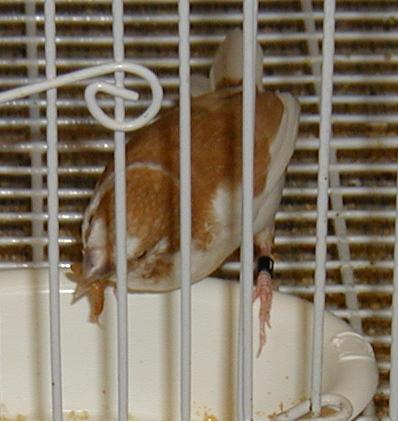
This is Boston enjoying a worm |
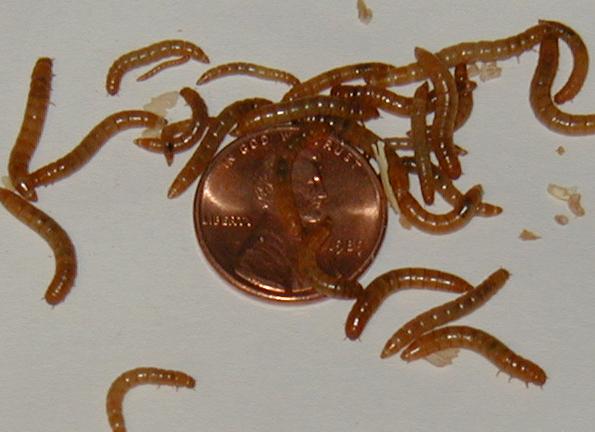
Mini meal worms - this is the size that my
finches love! |
|
|
|
|
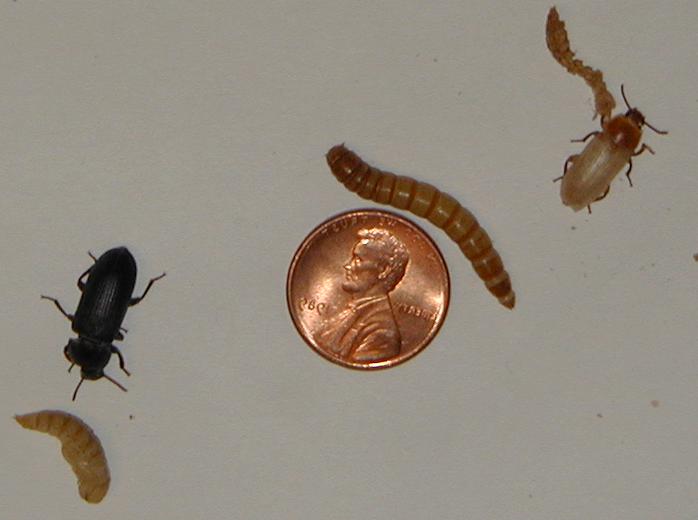
From left to right: pupa, beetle, fully
grown meal worm, and another beetle (immediately after he
morphed from a pupa) |
My 3 container system for growing meal worms |
|
|
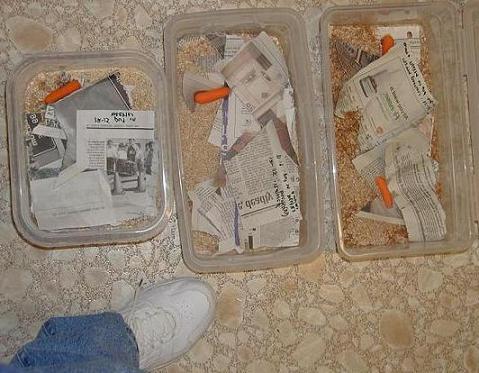
|
I have had no problem keeping a meal worm colony
growing. I use 3 uncovered containers and the whole life cylce takes
about 3 months. Here's the method I use:
-
I started my colony with 100 meal worms. I put
them in a plastic container (Container # 1) with about 2 inches of
bran mix. I use a mixture that's two thirds wheat bran and one
third chicken laying mash (not the medicated type). Both of these
items can be purchased very cheaply from a feed store.
-
For moisture and food, I put a carrot on top of
the bran mixture. At times I've tried using half of a potato or
half of an apple, but I found that they turn mushy and gross. So
now, I stick with carrots. If the carrot doesn't get completely
eaten, it just dries out.
-
I covered this with strips of torn newspaper.
-
In about a month or two, the worms morph into
pupae, then to beetles.
-
In the beetle stage, they will lay eggs - plenty
of them!
-
One month after the first appearance of beetles, I
prepare a fresh container (Container # 2) with bran mix, carrot
and newspapers. I now remove all beetles, pupae and any remaining
large worms from Container #1 and put them into Container #2.
-
Container #1 now contains the original bran mix
with lots of eggs (too small to see) and teeny-tiny worms. With a
magnifying glass, I can see some of the worms.
-
I wait another month. Then I prepare a fresh
container (Container # 3) of bran mix / carrot / newspapers and
move the beetles/pupae/worms from Container #2 to Container #3. If
some of the beetles have died (and they will - since they only
live a month or two), I get some worms from Container #1 and also
add them to Container #3, so that I keep a continuous colony
going.
-
At this point Container #1 has plenty of small
worms - just the size that my finches love! For the next month, I
retrieve worms from this container to feed my birds. Container #2
now contains bran mix with eggs and tiny worms.
-
After a month of using Container #1 as the feeding
supply, I place any remaining worms from this container into
Container #3 with the beetles. I clean out Container # 1 and add
fresh bran mix, carrot, newspapers - you get the idea.
-
Now I move the beetles / pupae / worms from
Container #3 to the fresh mix in Container # 1. Container #2 now
contains my worm supply for the next month.
-
If I just keep this monthly rotation going there's
always a supply of fresh small worms for my finches. I also feed
some of the worms to the wild birds. Bluebirds and Carolina wrens
love them!
-
Other than this monthly container switch-a-roo,
the only other maintenance I perform is replacement of the carrots
if they get eaten or dried out. To avoid a moldy mix, I DON'T add
any moisture. The carrots supply any needed moisture. **
note - in the dry winter air, I find it necessary to spray the
newspapers daily with water and apple slices seem to work better
than carrots.
|
